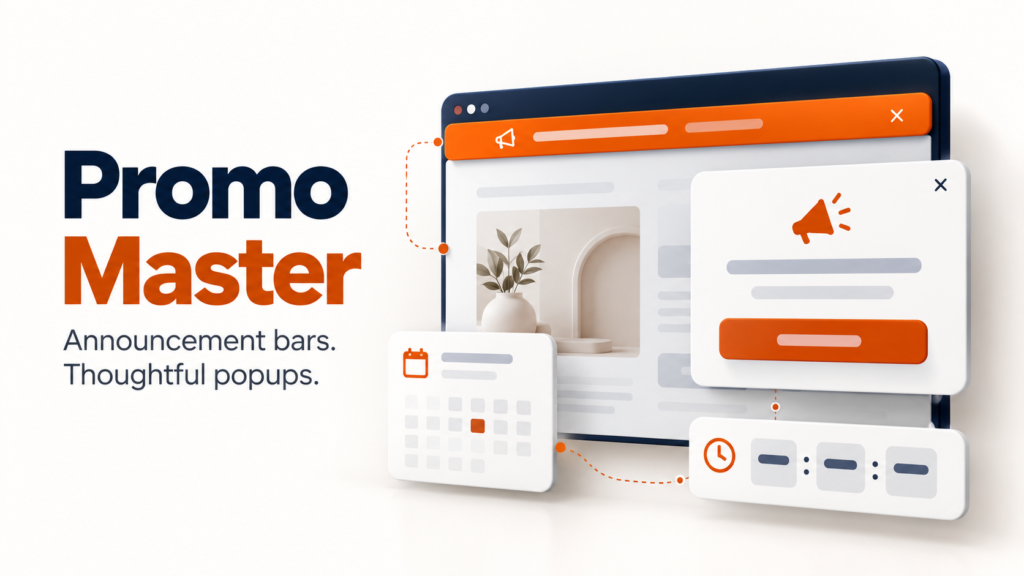
A product launch, registration deadline or seasonal offer deserves a clear place on your website. An announcement bar can keep that message visible without taking over the page. A modal can give a more detailed invitation when the timing makes sense.
Promo Master by WooCrafters brings both formats into one standalone WordPress plugin. This guide shows how to plan and publish a useful campaign, add a genuine countdown deadline, and review what visitors do next.
What is a WordPress announcement bar?
An announcement bar is a short message displayed at the top or bottom of a website, usually with a button or link. It can highlight a new product, point visitors to an event, or explain a temporary service change. A good bar answers three questions quickly: what is happening, why it matters, and what to do next.
A popup or modal gives the message more space but interrupts browsing more directly. Choose a bar for a compact, ongoing notice. Choose a modal when the offer needs context, and give visitors an obvious way to dismiss it.
Watch the Promo Master walkthrough
The walkthrough introduces the campaign editor, scheduling, targeting, previews and analytics. The screens use demonstration campaign data; they are not evidence of sales results.
How to add an announcement bar in WordPress
1. Install Promo Master and create a campaign
Promo Master requires WordPress 6.5 or newer and PHP 8.0 or newer. Download your plugin ZIP, open Plugins → Add Plugin → Upload Plugin, upload the ZIP and activate it. Test a new plugin on a staging site before deploying it to a busy production website.
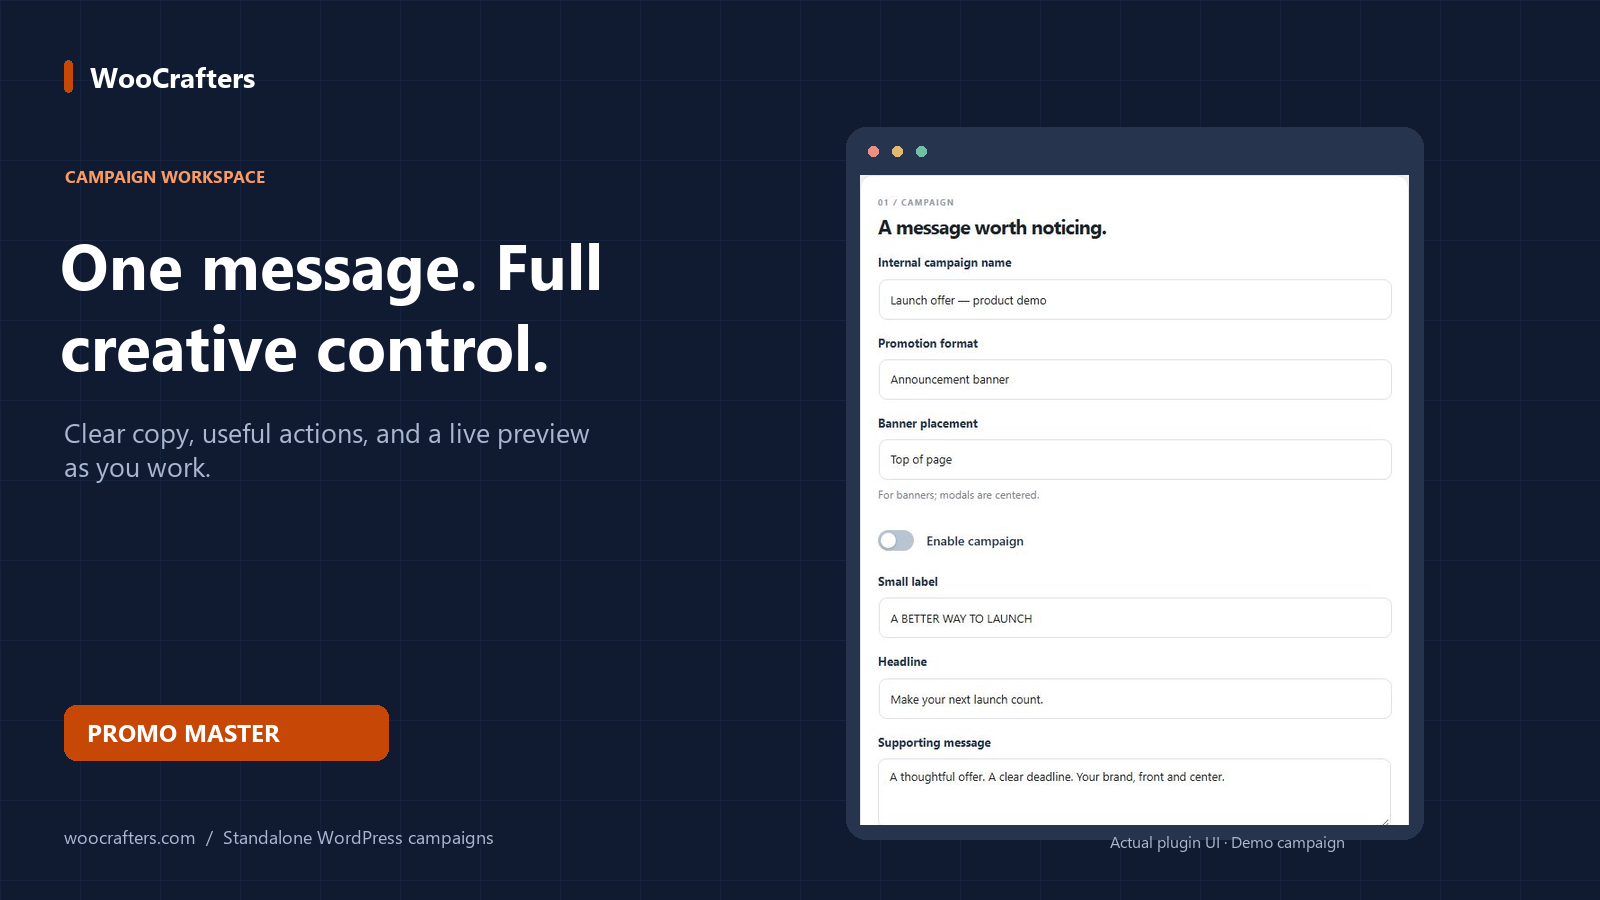
Open Promo Master → Add new. Give the campaign an internal name that makes sense to your team, such as “Autumn workshop registration.” Choose an announcement banner and select its top or bottom position.
2. Write one clear message and action
Keep the headline specific. “Registration closes Friday” communicates more than “Don’t miss out.” Use supporting text for the essential condition, and give the button a descriptive label such as “View workshop details.”
Promo Master supports opening a link, copying an optional code, or dismissing the promotion. Enter the full destination URL for a link action. A copy-code action only copies the text you provide: it does not create a discount or validate a coupon in a checkout system.
3. Match your website’s styling
Choose colors that fit your brand and keep the message readable. Check the button contrast and the dismissal control. Decide whether the bar should stay visible while visitors scroll, and make sure it does not cover your navigation or another important notice.
Schedule the banner and add an honest countdown
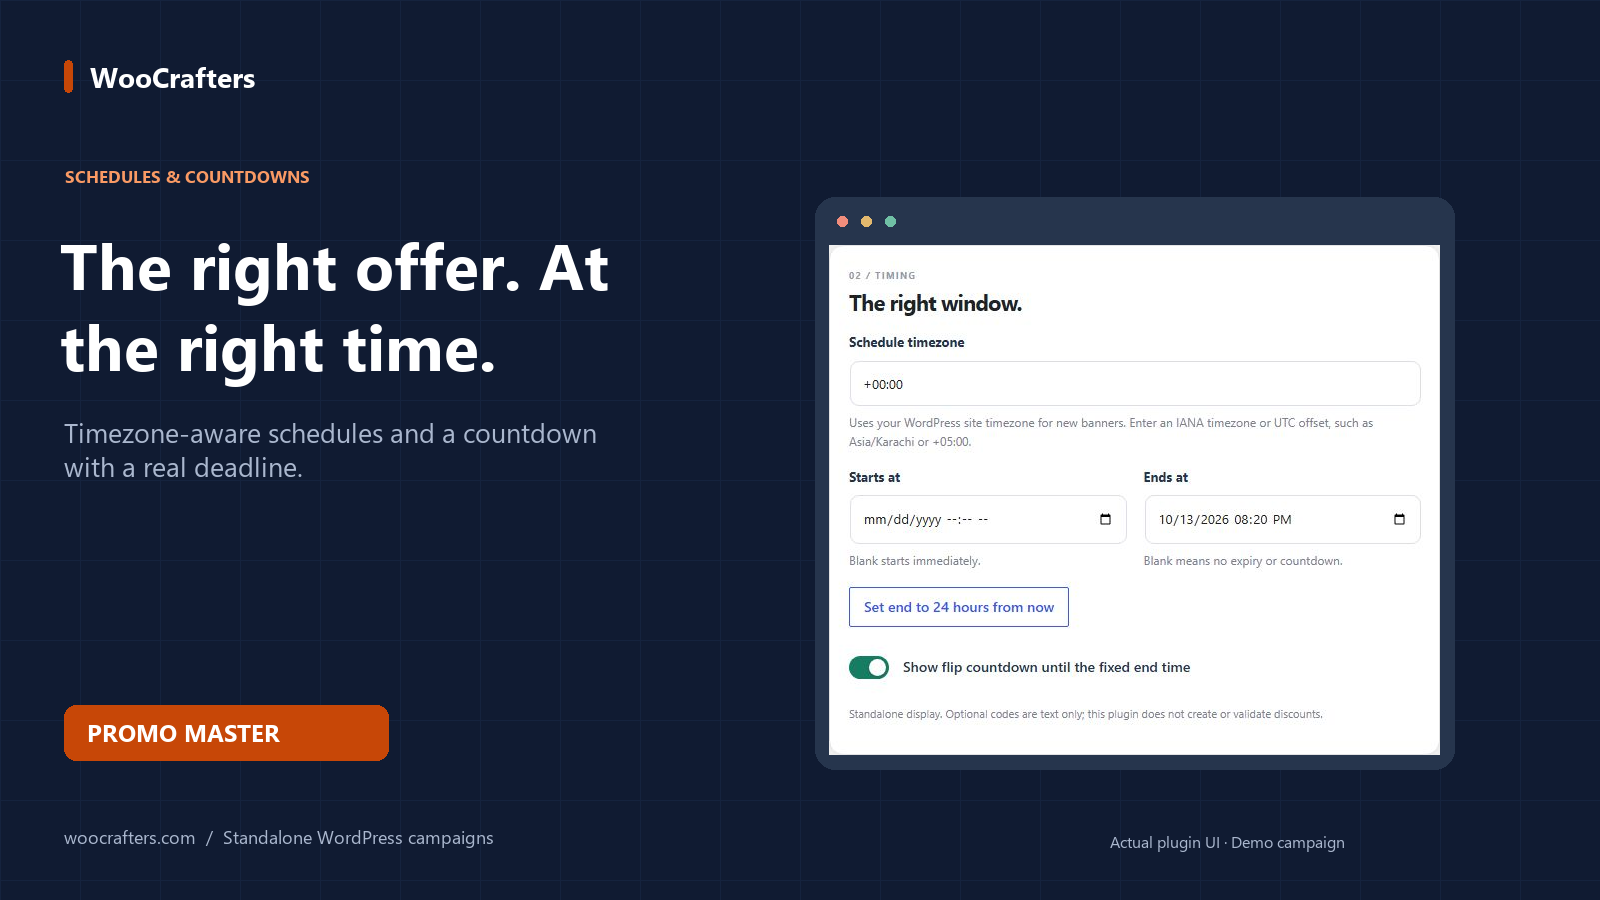
Set your campaign timezone before entering start and end times. A named timezone such as Europe/London follows daylight-saving changes; an explicit offset such as +05:00 stays fixed. A blank start means the campaign can begin immediately, while a blank end means it has no expiry.
For a limited-time promotion, set a real end date and enable the countdown. Promo Master’s countdown follows that fixed deadline. It does not restart for each visitor. The “24 hours from now” shortcut creates a fixed end time when you use it.
Make sure the destination page and any separate discount system use the same deadline. A timer should describe the actual offer, not manufacture urgency. Review the campaign’s Scheduled, Active, Paused or Ended status before launch.
Show the promotion on relevant pages
A useful promotion reaches the right visitor in the right context. Use page-path rules to include relevant pages and exclude distractions. For example, a training event notice might belong on course pages, while a product launch notice could link from related articles.
Promo Master also provides guest or member audiences, device targeting, campaign priorities, repeat behavior and dismissal duration. Start with a simple rule set. Check the exact paths and test as the intended visitor, including a logged-out visitor when appropriate.
The live preview is a design tool. It intentionally ignores scheduling and targeting, so seeing the preview does not prove that a visitor will qualify for the campaign.
When should you use a modal instead?
Use a modal when the message needs more explanation than a bar can comfortably hold. Promo Master offers delayed display, scroll-threshold delivery and desktop exit intent. Pick a trigger that matches the visitor’s task rather than displaying an interruption immediately on every page.
Keep the close control visible and test keyboard dismissal and focus behavior with your theme. Review the mobile layout separately. A modal that blocks the page or makes dismissal difficult can work against the experience you want to create.
Preview, launch and measure the right events
Check desktop and mobile previews, then enable and save the campaign. Saving returns you to All campaigns, where you can review its status. Test the actual frontend with your caching setup and confirm the button destination, countdown, targeting and dismissal behavior.
Promo Master reports daily impressions, CTA clicks and configured confirmation-page conversions over 7, 30 or 90 days. Conversion counting requires a preceding CTA click and a visit to the configured confirmation path in the same browser tab/session. These are approximate on-site events, not verified orders, revenue or complete cross-device attribution.
Use the numbers to investigate the campaign. If people see the notice but rarely click, reconsider its relevance or wording. If people click but do not reach the expected page, check the destination and visitor journey. Change one meaningful variable at a time so you can interpret the result.
Does Promo Master need WooCommerce or EDD?
No. Promo Master runs independently of WooCommerce, Easy Digital Downloads and coupon plugins. You can use it for agency websites, membership sites, course platforms and product businesses. If your campaign advertises a discount, create and manage that discount in the system that actually handles the purchase.
Build your first campaign
Start with one message, one audience and one useful action. Give a time-limited offer a genuine deadline, verify the visitor experience, and review the resulting events before expanding the campaign.
Explore Promo Master and its license plans, or follow the Promo Master documentation for detailed setup instructions. Need a campaign tailored to your website? Talk to WooCrafters.